
Managing Account
Learn how to update and add information to your account.
in this section
- Team Members
Can I Add Team Members to My US Global Mail Account?
Yes, you can! If you’re on our Business Plans [Virtual Teams or Enterprise], you can give other people access to your US Global Mail account—each with their own secure login. It’s perfect for teams that need to share mailbox responsibilities.Quick Overview:
- Who can access Team Member feature? Only Business Plan users (upgrade by going to Settings → Plan & Billing Details → Change).
- Cost: $15/month per team member.
- Roles Available:
- User: Can only see specific folders you choose.
- Manager: Can see the whole mailbox (except billing).
More Info:
- Registering new members
- Setting folder access to specific members
- Switching roles for team members
- Permission differences between members
Registering new members
Go to Settings -> Add-ons: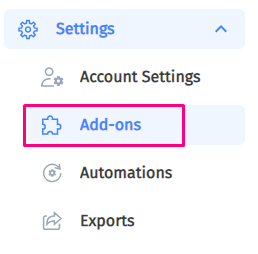
The screen defaults to Scan Bundles so click Team Members and click on “+ Invite Members“:

Fill out their name and email. Choose their role (User or Manager).
-
- Users have access to assigned folders only.
-
- Managers have access to all areas except billing.
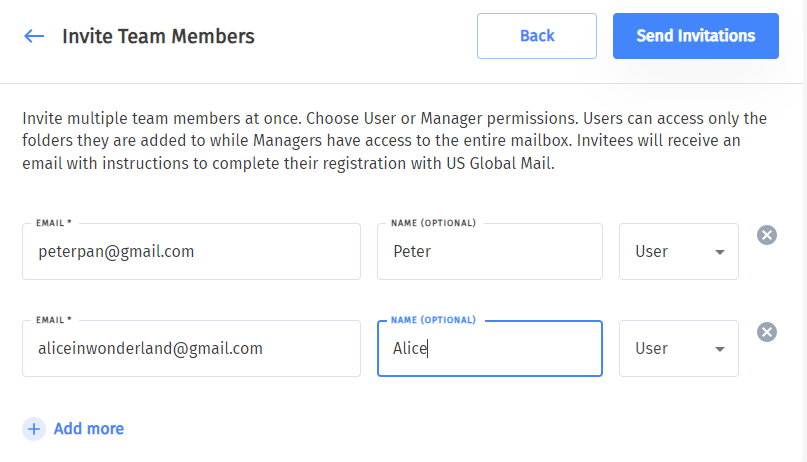
Click “Send Invitations”. They’ll get an email like this (yep, it’s that simple!).
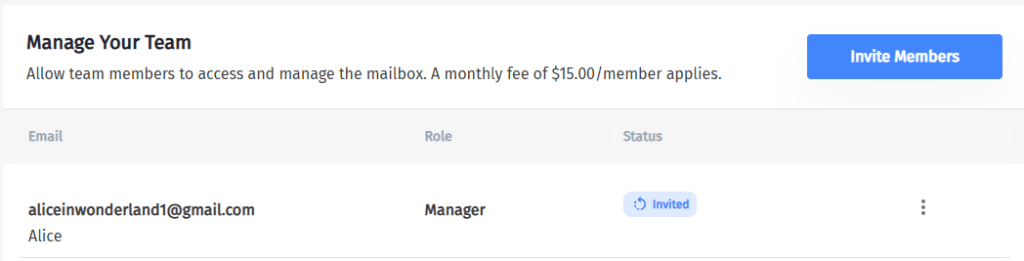
Once they click Accept Invite, they’ll set their own password and be ready to go.
How to Set Folder Access for Users
Set Folder Access
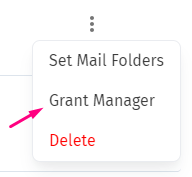
Click the three dots next to their name. Select Set Mail Folders.

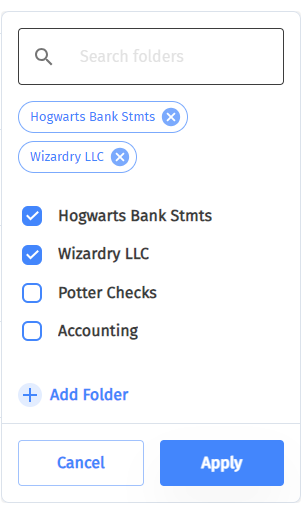
Choose which folders they can see—or create a new one.
Click Apply. Done!
How to Change a Team Member’s Role
Make someone a Manager: Click the three dots → Grant Manager.
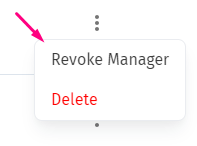
Make a Manager a User again: Remove their manager access—it’ll automatically switch them to a User.
Roles and Permissions of Team Members
Here’s a quick look at what the main account holder (Primary User) can do compared to what Managers and Users can access:
Primary user Manager User Mailbox ✅ ✅ ✅ – view all folders ✅ ✅ ❌ – view assigned folders ✅ ✅ ✅ Scans ✅ ✅ ✅ Shipments ✅ ✅ ✅ Billing History ✅ ❌ ❌ Discarded ✅ ✅ ✅ Settings ✅ ✅ ✅ – Payment Details ✅ ❌ ❌ – Account Details ✅ ✅ ✅ – Account Names ✅ ❌ ❌ – Folders ✅ ✅ ❌ – Team Members ✅ ✅ ❌ – Change mailbox location ✅ ❌ ❌ – Shipping Addresses ✅ ✅ ✅ – Shipping Schedules ✅ ✅ ❌ – Scan Bundles ✅ ✅ ❌ – Automatic Scans ✅ ✅ ❌ – Export PDFs ✅ ❌ ❌ - Managing your forwarding address
After receiving letters and packages at your US Global Mail address, you might want to get the items where you are. That’s when you need to add a forwarding address (for example: your new overseas address) to your account.
The forwarding addresses can be either in the US or overseas. We can also forward to APO addresses.
You can add UNLIMITED addresses to your account, and forward your items to different addresses every time. No worries even if you move around; forward the items to where you are.
ADD OR UPDATE A FORWARDING ADDRESS
Note: Changing an address does NOT automatically update on your open shipments. If you need to update the addresses for any shipments you need to edit it for each one.Special note:
1. Log In To Your Account, click on Settings then “Address Book”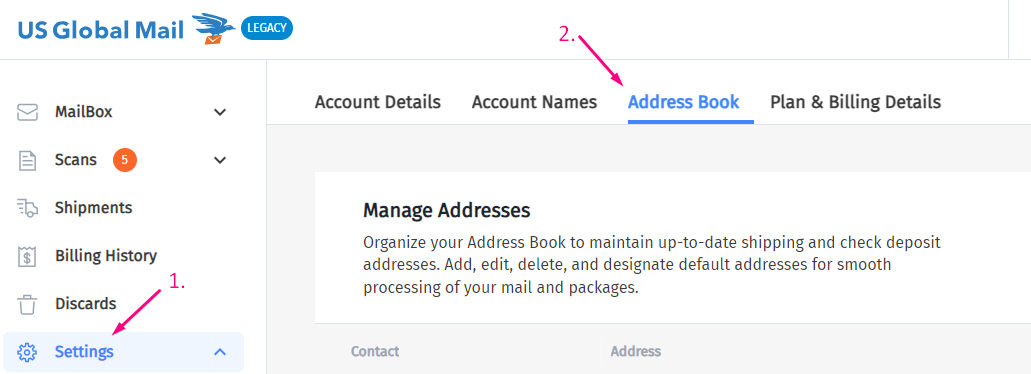
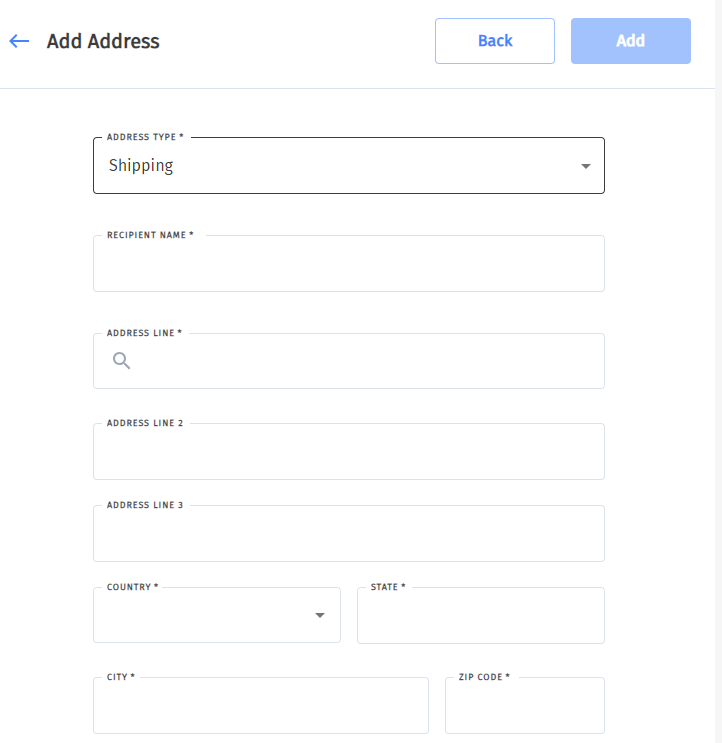
2. To add a new address, click “Add Address”- Choose whether the address will be a shipping, billing, or check deposit address type. Enter all the required information. Click “Make this address my default address” if you want it to be a default address when shipping. Click “ADD”.
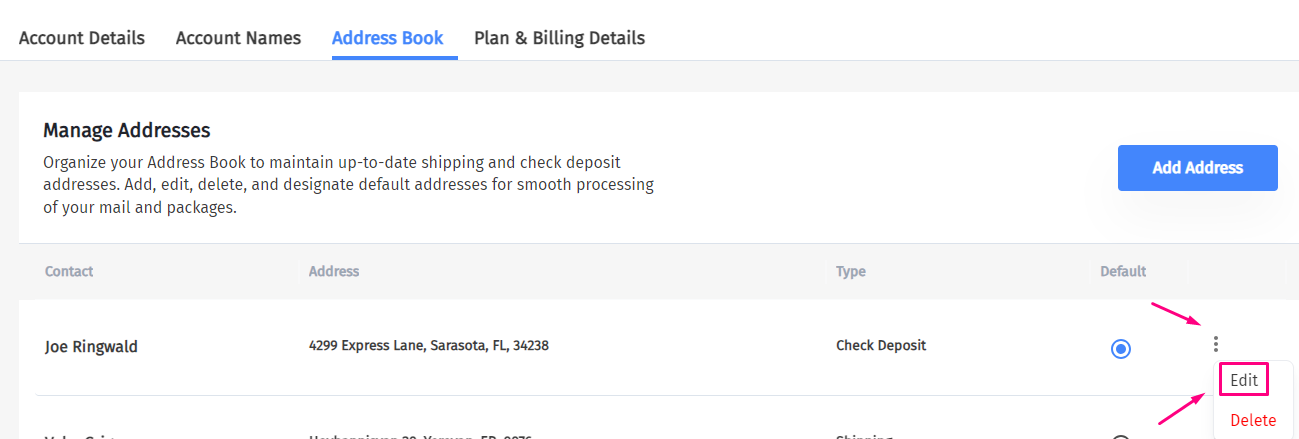
- To edit an existing address, click the three dots to the right of the address. Select “Update”:
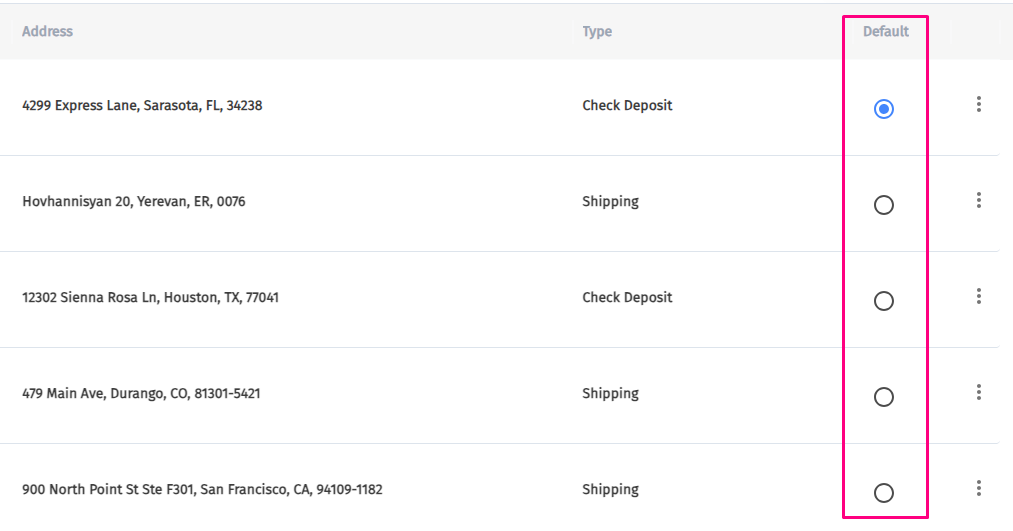
MAKE AN DEFAULT ADDRESS
- Click the circle of the address you wish to make default per this column
DELETING AN ADDRESS
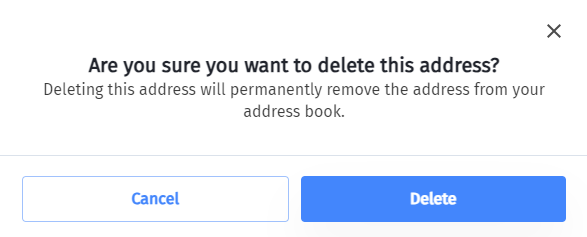
To delete an address, click the three horizontal dots for that address and click “Delete”.
- A window will pop up asking you to confirm the deletion, click “YES”.
- Update Email/Reset Password
It is very easy for you to update your email address or password whenever you need to make a change. This can be performed directly from your account.
You will need to log into your account by entering your username and password via our login page.
1. Go to the SETTINGS tab and click ‘Account Details’. You will see the following:
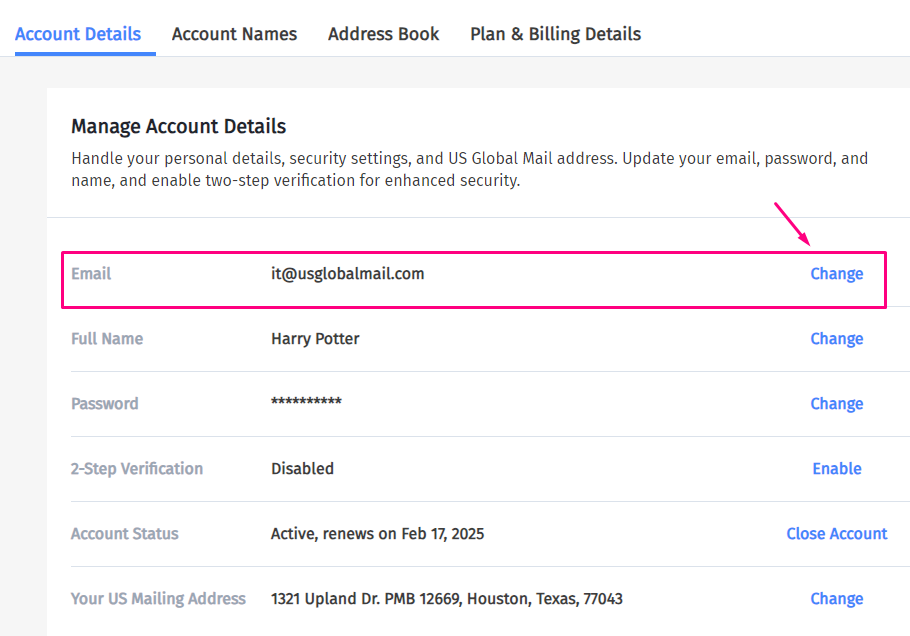
2a. To change your email address click the blue ‘CHANGE’ link next to your email.
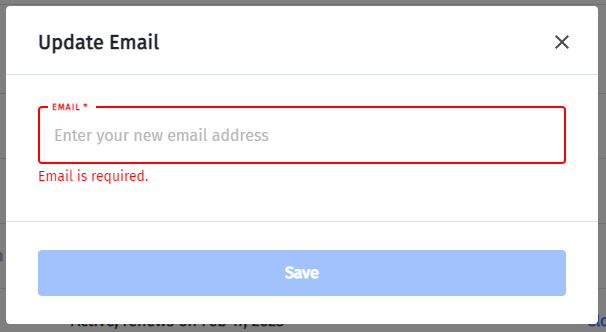
- The change will reflect on the main Account Details page.
2b. To change your password, click the blue ‘CHANGE’ link next to your password.
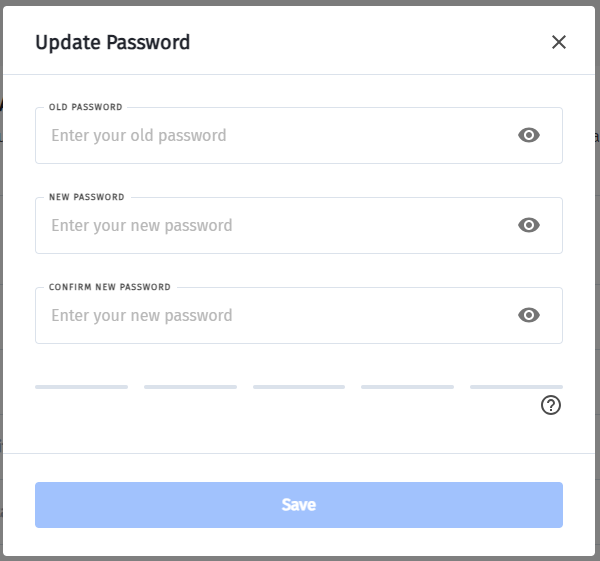
You should get the success confirmation at the bottom of the page:

If you come across any issues with the above, simply let us know and we’ll be happy to help you.
- Managing Account Names
Your virtual mailbox at US Global Mail can receive mail for multiple names/recipients in the same mailbox.
ADDING ACCOUNT NAMES
To add a new name, Log in to your US Global Mail account.
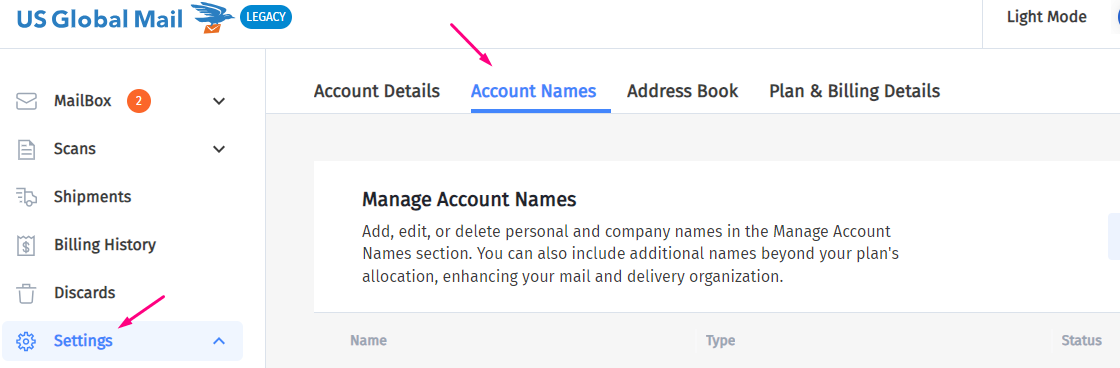
Go to “SETTINGS”.
Under Account Settings, click on “Account Names”.
Click “Add New Account Name” if you’re adding a new name, or select an existing name.
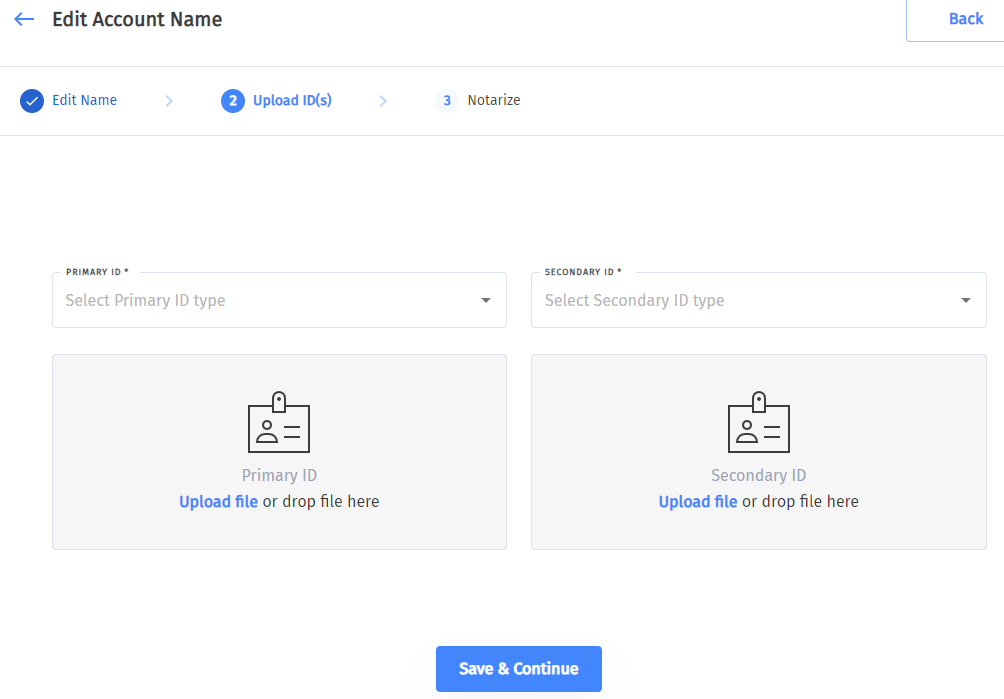
Click “Upload ID” or look for the option to add/update ID.
Choose the type of ID you’re uploading.
Upload the file for your primary ID.
Scroll down to upload your secondary ID.
Click “Save and Continue”
Remember, you need to upload two forms of ID for each name on the account (except for business names). This is required per USPS regulations and helps us verify your identity and keep your mail secure.
Adding alternative names for one person
- You can add different names of yours (ex: maiden names) in all plans).
- You’ll need to show us IDs of these names (even if the IDs are no longer valid).
- Contact us to add your alternative names to the account.
Adding names of a deceased family member
No IDs are required for deceased names.
Adding a company name
No documentation is needed to add a company name on your mailbox. However, please note there must be 1 individual account name – primary account holder- on the account before a Company can be added to the account.